
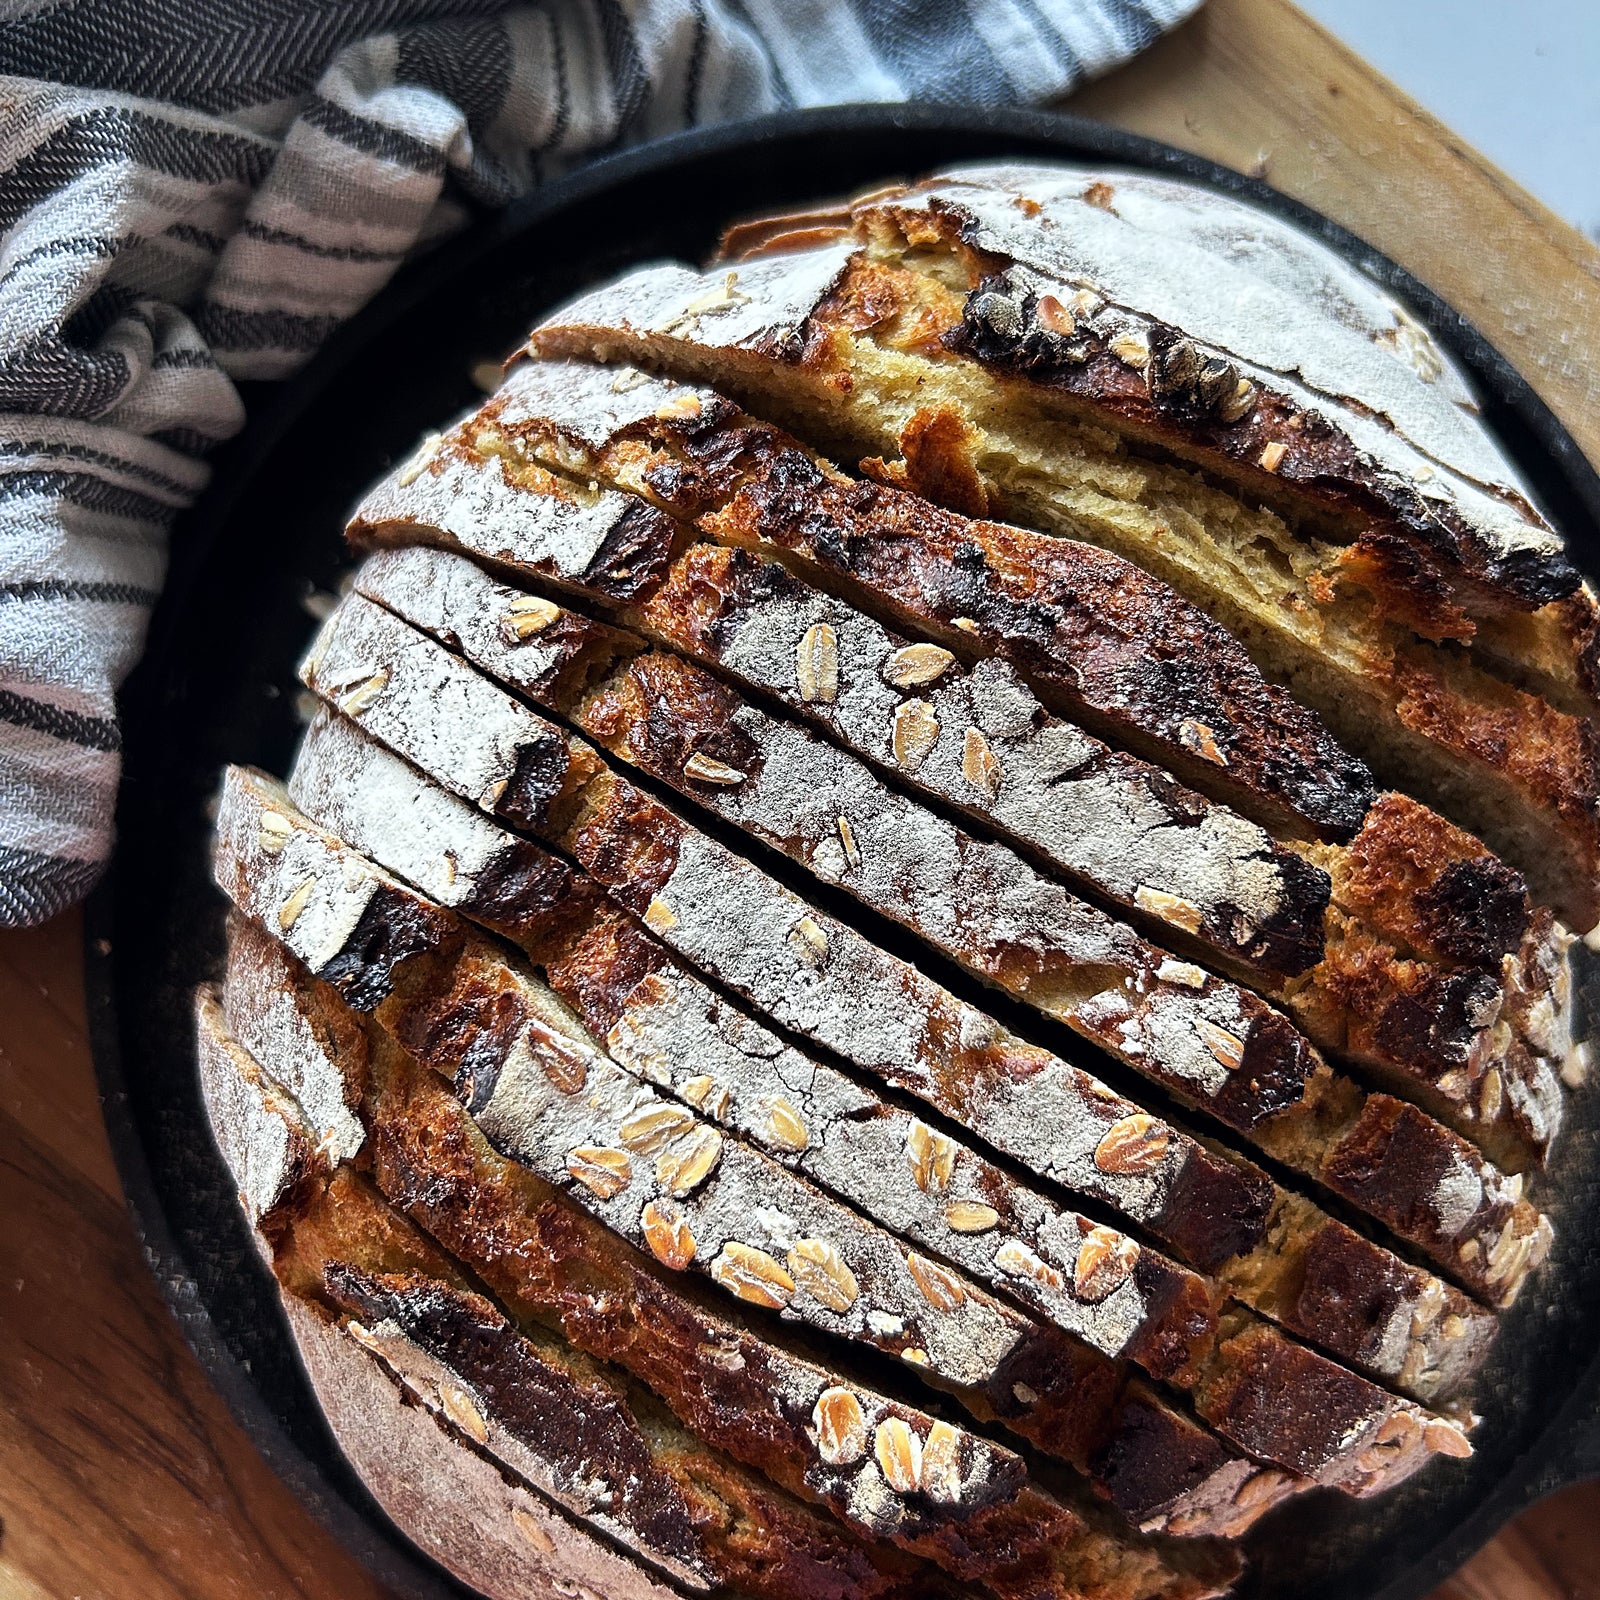
Sourdough Honey Oat Einkorn Boule
Ingredients

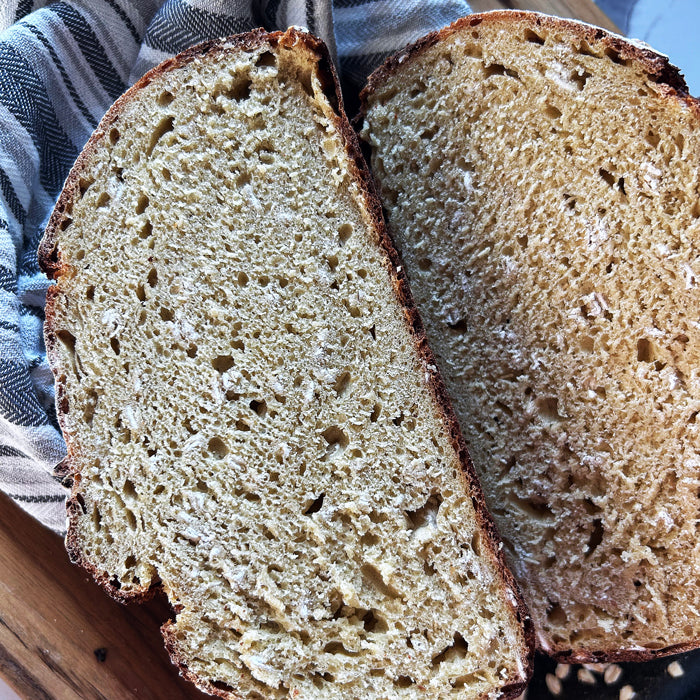
Recipe by Kerenza De Freitas. A touch of honey brings a gentle sweetness and added depth to this sourdough boule, perfectly complementing the warm, nutty flavors of einkorn. This recipe uses a stiff starter for a higher rise and a fluffier crumb. We’ve provided options for either an overnight or an all-day fermentation schedule to help you time out this recipe, but be sure to keep an eye on your dough’s progress to guide you—it should be puffy with a domed center and small bubbles or holes just before it’s ready for shaping.
Instructions
- In a small bowl, mix the stiff starter ingredients until it forms a dough ball. Cover and ferment for 8-10 hours.
- In a large bowl, combine 100 g (¼ cup plus 1 tablespoon) of the stiff sourdough starter, water, and honey. Add the flour, salt, and oats. Mix with a dough whisk or fork until you can’t mix anymore. Continue to mix with your hands until a shaggy dough forms. Cover and let rest for 30-45 minutes.
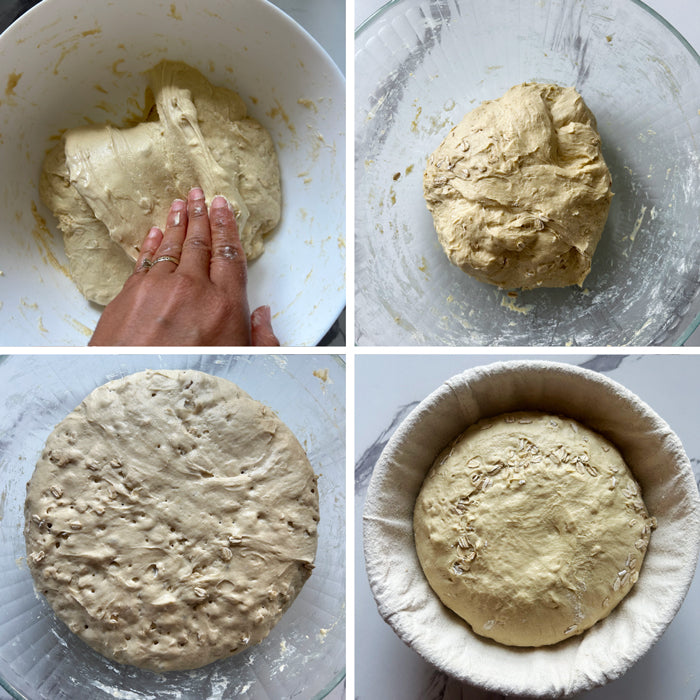
- After 30 minutes, perform the first stretch and fold. Lightly wet your hands and scoop underneath one end of the dough. Pull the dough upwards and fold it over to the opposite end. Turn the bowl and repeat this stretch and fold until all four sides are completed. Cover the bowl and let the dough rest for another 30 minutes.
- After 30 minutes, perform the second stretch and fold, as you did the first time. Repeat one more time for a total of 3 stretch and folds. You can do as little as 2 stretches.
- After the final stretch and fold, cover the bowl and allow the dough to ferment at room temperature for 8-10 hours.
- Flour your proofing basket.
- Flour your work surface. Empty the dough onto the work surface using a bowl scraper. Flatten the dough just a little bit with your fingers and pre-shape the dough by folding a few times. Pull one side of the dough up and over towards the opposite side, repeating on all sides. Repeat this 3-5 times, then roll up the dough to form ball. Use a dough scraper to help as the dough may stick and flour if needed. Let the dough rest for 3-5 minutes.
- To shape your dough, flour your work surface and flip the dough over onto the flour using the dough scraper. Bring each end of the dough into the center, then roll up to form a round shape. Using your hands and a dough scraper, cup the dough and turn towards you to form a tight ball. Sprinkle a bit of flour to help prevent the dough from sticking. Transfer the dough into your proofing basket by flipping it over, seam side up. Use your dough scraper to help you transfer.
- Preheat the oven to 500°F with your covered Dutch oven inside for at least an hour. Let the dough rise for 30 minutes to 1 hour.
- When the dough has risen, remove the Dutch oven and flip your dough into it. Sprinkle some water on the top of the dough and add some oats. Use a sharp razor or lame to score the top. You can score an X or a square.
- Cover the Dutch oven and place it back into the oven. Reduce the heat to 450 degrees F and bake for 20 minutes. Remove the lid after 20 minutes and continue to bake for another 20 minutes for a total of 40 minutes baking time. Remove the Dutch oven and place the loaf onto a baking rack to cool for 2 hours before slicing.
Baker's Schedule
- Baker’s schedule option 1: Mix your dough the night before and allow to ferment and rise for 8-10 hours. Shape in the morning and final rise for 30 minutes to 1 hour, then bake. Be sure to prepare your starter 8-10 hours prior to mixing your dough.
- Baker’s schedule option 2: Mix your dough in the early morning and allow to ferment and rise for 8-10 hours during the day. Shape in the evening/night and final rise for 30 minutes to 1 hour, then bake. Be sure to prepare your starter 8-10 hours prior to mixing your dough.
Notes
- Dough rise and fermentation are very dependent on the temperature of your environment. If it is very warm, the dough will rise and ferment quicker, and will take a bit longer if it is cold. It is best to look for the signs of dough readiness. When the dough has risen and is puffy, the edges are pulling away from the sides of the bowl, there is a bit of a dome towards the middle of the dough and some bubbles or tiny holes are present on top of the dough, then it is ready to be shaped.
- The dough will be over fermented if it is left too long at room temperature. The dough will be sticky around the edges of the bowl rather than pulling away, the center of the dough will appear sunken, and the dough will be more wet and sticky.
- There may be many tiny bubbles and holes present on top of the dough.
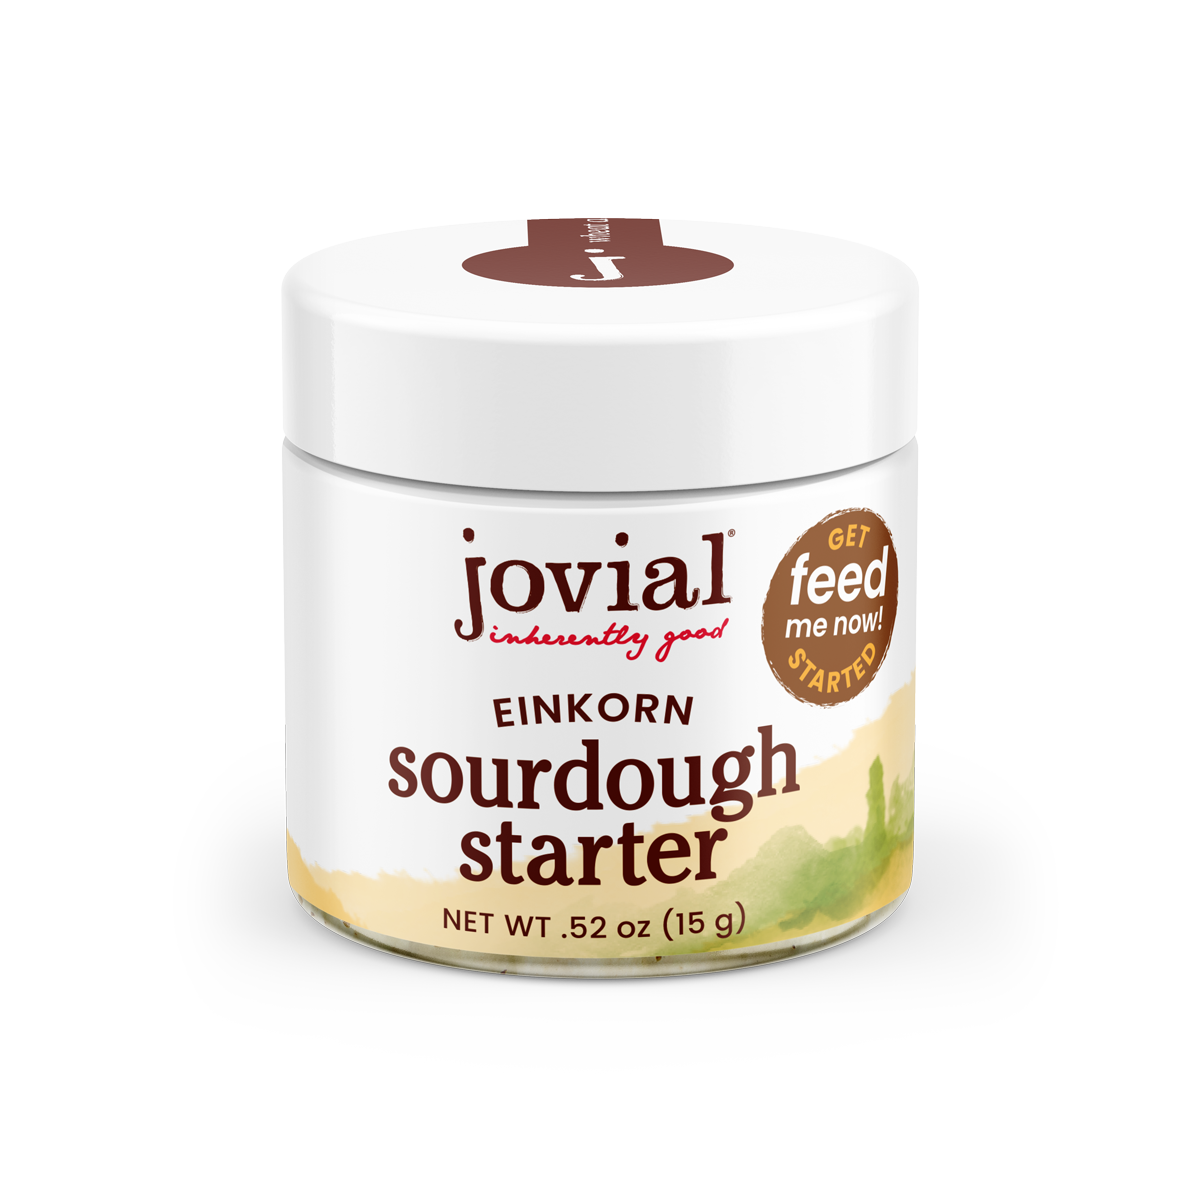
To help your dough rise higher, try adding steam to your oven. Place a rimmed baking sheet or an oven-safe dish on the bottom rack of the oven as it preheats and when you place your dough in the oven to bake, add some ice blocks to the pan. You can add some more steam when you remove the lid from the Dutch oven, but added steam during the first 20 minutes of baking is best as this is when the dough rises most. - This recipe uses a stiff starter rather than a liquid starter or levain. Stiff starters have more yeast activity which creates more CO2. This is really helpful for a higher rise and a more fluffy crumb.